


The Potty Plotters grow your own blog; Spring has sprung?
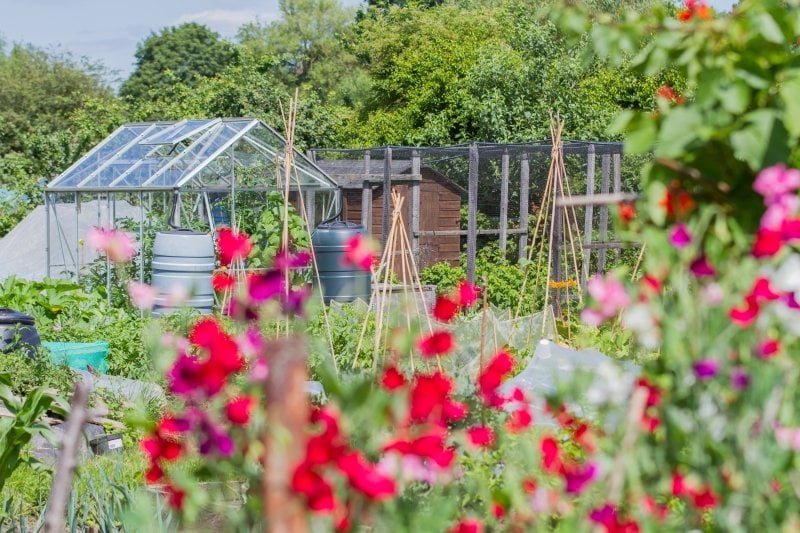
Grow your own has become a firm favourite following the enforced lockdowns of recent years. It’s something that many National Garden Scheme garden owners champion and an area of growing interest to garden visitors looking for inspiration and advice. With kitchen gardens, community gardens and allotments now firm favourites in the National Garden Scheme portfolio we’ve invited The Potty Plotters, Elaine and Julia (our Impact Report cover girls from Ashbourne Road and District Allotments in Derbyshire pictured above) to share their seasonal tips each month for getting the best out of your grow your own plot.
Spring has Sprung?
As new plot holders are pulling hard at the reins to get started on their plots, we quickly slam shut the fictitious ‘stable doors’ to hold them back and return them to their seed catalogues to plan and wait for the warmer weather!
As allotment crazy The Potty Plotters, we look admiringly across the neat and tidy raised beds and winter dug soil areas on our adjacent plots all manicured over the winter months and smile that knowing, but satisfying, smile.
We know that in a few weeks’ time, the emerging bulbs will be bursting into bloom, brightening the longer spring days with a wealth of colour, safe in the knowledge that as the weather remains uncertain through the next few months that most experienced plot holders will persist in ‘shed and greenhouse hibernation’. But what could people be doing this month away from direct contact with the soil to ensure positive outcomes in the weeks ahead?
Potatoes
Although it is suggested that you can plant any potatoes including those from the supermarkets or local shop to harvest off the plot, they are not disease resistant and may contaminate the soil. So, it’s safest is to buy proper ‘seed’ potatoes from the garden centres or local horticulturalists. They are advertised as seed types with labelling of:
- First earlies
- Second earlies
- Main crop
This simply indicates how long the seed potatoes need to be in the ground for optimum growth, but before we get that far, let’s step back and talk about ‘chitting’ which is simply another word for ‘sprouting’ or ‘growing shoots’.
Pop the seed potatoes in (ideally) a cardboard egg carton or similar container, making sure that they don’t touch each other. This will mean that if one potato rots, the others will remain unaffected.
Stand each on their end (like a row of eggs) and pop the container in a frost-free, cool, place towards the light. After about six weeks they will have started to chit (sprout) and as the soil outside has warmed, they will be ready to plant.
More about that next month when they are big enough to plant into the soil.
-
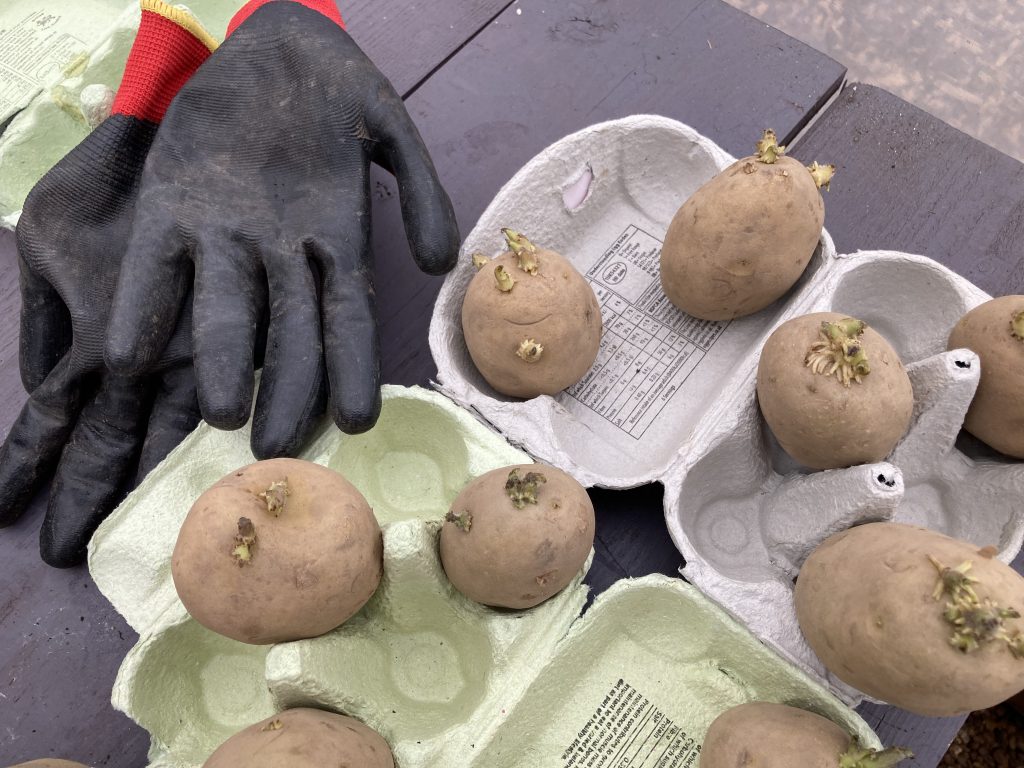
- Potatoes, chitting
Broad beans
Love them or hate them broad beans are generally expensive to buy in the shops, but very easy to grow yourself.
Broad bean seeds are, by the clue in their name, a very broad seed. Easy to handle and simple to work with by most hands.
Our allotment site it situated on the perimeter of Derby city centre and whatever seeds we plant directly in the soil seem to be an absolute feast for both mice and rats. In an effort to avoid the angst of the seeds disappearing and having to repeatedly reset more, we simply set them firstly in cell trays filled with compost (peat free or other type) and keep them out of the reach of the hungry creatures! We love to grow different varieties of broad beans– tall and some short ones too – so why not be adventurous? Read the packets carefully and decide which ones you would like to have a go with.
Take a cell tray and ¾ fill each cell hole with compost. Set a broad bean on its side in each hole and firm it into the compost. As it sits on its side, top up the cell with more compost to within ¼ inch of the top of the cell neatly covering the bean seed by about an inch of compost.
Place the seeds now on a shallow tray of water until the compost absorbs water from its bottom and then remove it to a place to drain excess water. Now cover the filled cell tray with a previously used clear plastic bag or plastic cover which will retain the heat and moisture too for the beans.
Place the tray on a warm windowsill on top of newspaper or on a tray. This will avoid damaging the sills oh! And your relationships with your partners! You shouldn’t have to water them again but see what they feel like and if they are dry, sprinkle them with water, being careful not to over water as this will simply rot the seed
After 7 – 10 days the beans should sprout through the compost. Now move them somewhere cooler like a greenhouse as this will acclimatise them to being outside in their final growing space but keep them out of the frost if you can at this early stage of growth.
We will tell you more about what to do next with your beans next month.
-
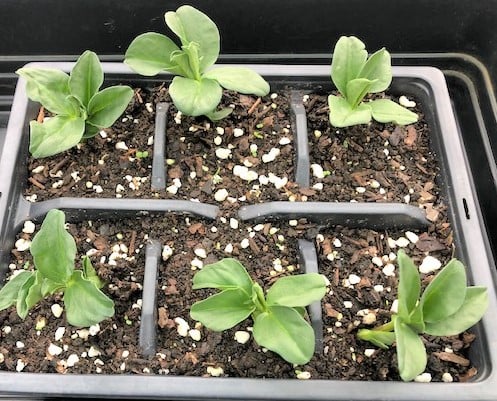
- Broad beans in cell tray
Chillies, Peppers and Aubergines
If you haven’t done so already, now is our last call for setting chilli, pepper and aubergine seeds. All 3 types of seed can take up to 3 weeks to germinate and need a long growing season to produce their fruits so get cracking if you want to grow them!
Fill your recycled container (or plant pot) two thirds of the way up with a good quality compost. Then simply (but gently), firm the compost to an even surface and carefully place the seeds on top of the compost about an inch apart. (You’ll understand why when we come to ‘pot on’ the seedlings later.)
Now cover all the compost with a quarter of an inch of the compost or Vermiculite and give the seeds a good water. Place the container after it has fully drained, in a clear plastic bag and secure – this will create a ‘mini greenhouse’ for it to live in for the next few weeks and will keep the seeds and compost warm. Pop the container on a warm, light windowsill.
When the seedlings start to appear, remove the plastic bag and allow the air to get at the seedlings.
TIP: If your container is on a windowsill the seedlings will start to bend towards the light, turn the container 180 degrees every day and that will keep them on the straight and narrow!
Sweet peas
The seeds of the sweet pea are tiny, round and very hard. They have been the subject of many so-called gardening tips from previous generations of plot holders and gardeners alike, but we will now share with you an idea that is fail safe and simple to follow.
Clean a plastic see-through take away container that has a clear lid and which makes the box airtight.
Now rip a piece of kitchen towel to fit the bottom of the container and lie it on the bottom of the box. Soak it with water and add the packet of seeds – usually about 30 seeds.
Rip another piece of kitchen towel to fit over the top of the bed of the seeds and make sure that it is soaked too. Then clip the container lid tightly shut and pop the container on the warm light windowsill.
After about 3 days you will see the seeds swell to double their original size and then they will split to see the shoot start to show. In another few days the shoots will grow rapidly as will the roots. At this point, carefully lift each seed and re-pot in say groups of about 4 seeds into individual small plant pots of compost and move them into a cooler environment such as a cold frame, greenhouse or simply outside. This will slow down the speed of growth but this method ensures that the seeds germinate and that you don’t waste compost planting seeds that won’t grow! This way you can do successions of seeds to have sweet peas growing all through the summer months through to the autumn.
We’ll tell you how to manage the sweet peas seedlings next time!
-
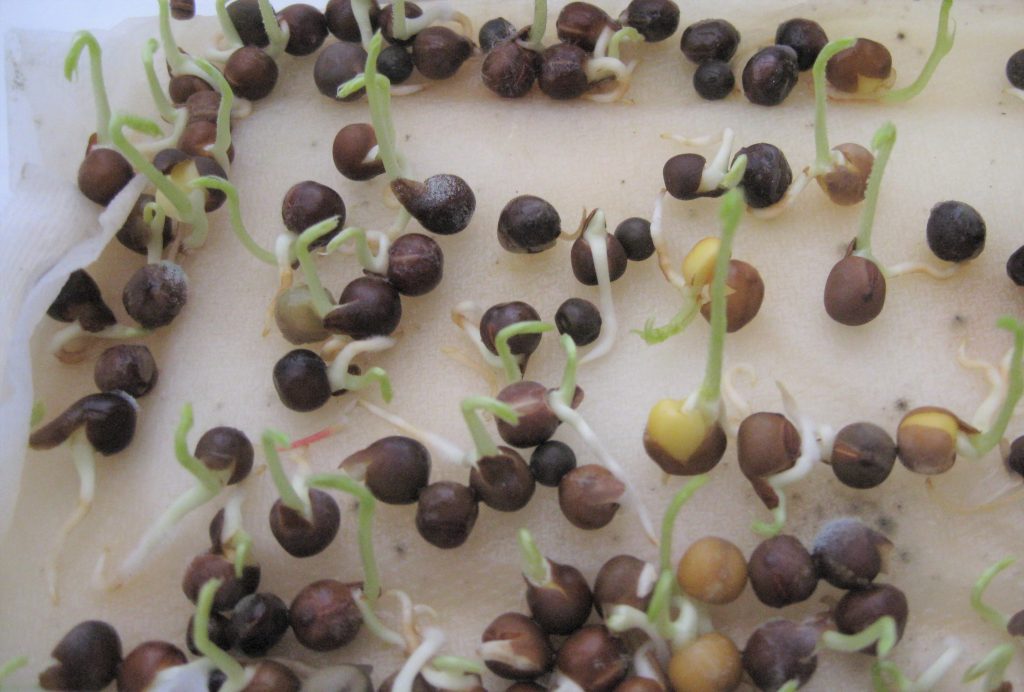
- Sweet pea seeds growing on wet paper
Leeks
Some of the tastiest things to grow for yourself and easy to do too – when you know how!
Try it this way and see what happens? Great for a project with children as the seeds grow quickly and encourages recycling at its best!
Clean a 2-litre milk bottle. Cut it carefully in half round its middle portion. Snip a couple of slits up the sides of the top half of the bottle. This will make it easier for you to slide the top half onto the bottom half later in the process.
Now make some drainage holes in the floor of the bottom half and fill it with multi-purpose compost. Now gently lay the seeds on top of the compost and wet them in situ. Sprinkle about ½ inch of compost on the top of the seeds and slide the top half of the milk bottle back over the bottom half. Screw the cap on the bottle which will now create a deep bed area ’mini greenhouse’ for the seeds to start to grow in.
Leave the milk bottle on a tray or newspaper on a warm windowsill and the seeds will germinate within 7 to 14 days. Take the top off the bottle as the seeds stat to show and then move them to a cooler environment. They will be happy to stay in this bottle until you are ready to sow them in the soil outside – but we will ‘leak’ more to you about that next time!
-
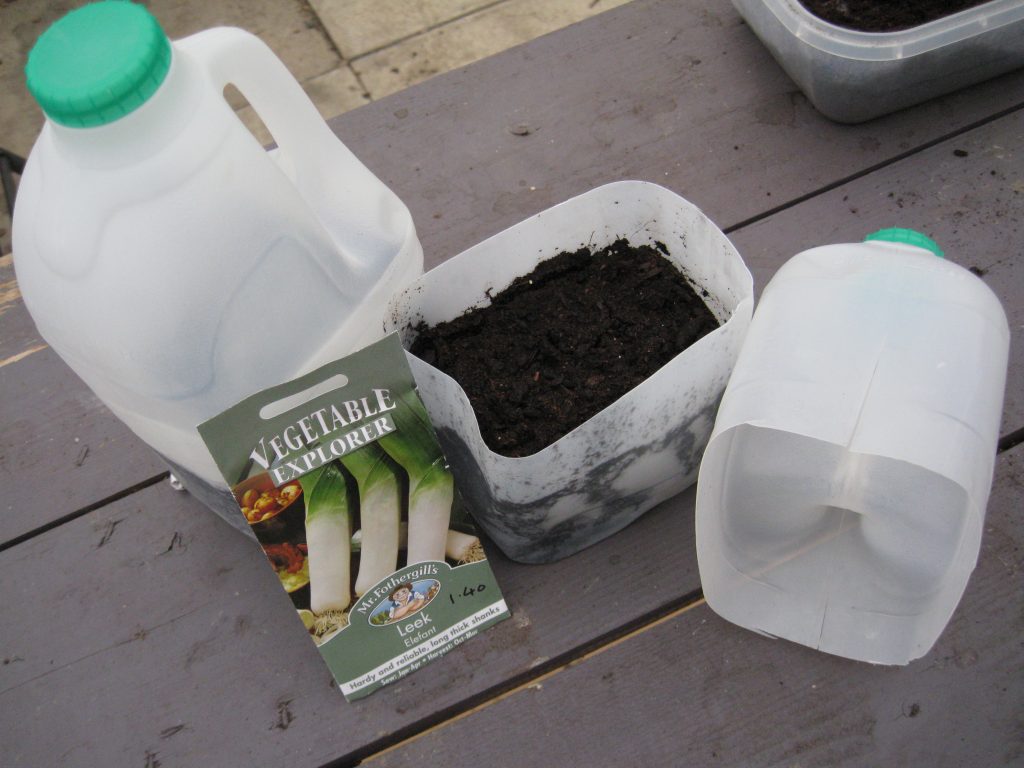
- Milk bottle ‘green house’ for leek seeds
*
Growing your own does work but everything has a time and place to grow. The long months of winter are still with us so keep calm and watch what we do and see how successful you can be growing alongside us (we mean ‘with us’ as Elaine is 6ft 2inches and although Julia has worked alongside her now for years, she actually hasn’t grown very well at all still being 5ft 3inches…ho hum…) til next month!
Why not send in your photos of what you grow so we can share more growing advice with our readers? Send to [email protected] along with your name, location and brief description of the image sent.
Looking for inspiration in a ‘grow your own’ garden – explore all the gardens here: Grow your own gardens – National Garden Scheme (ngs.org.uk)
-
- Prepare well now for a wonderful summer display