


The Potty Plotters grow your own blog; March to April
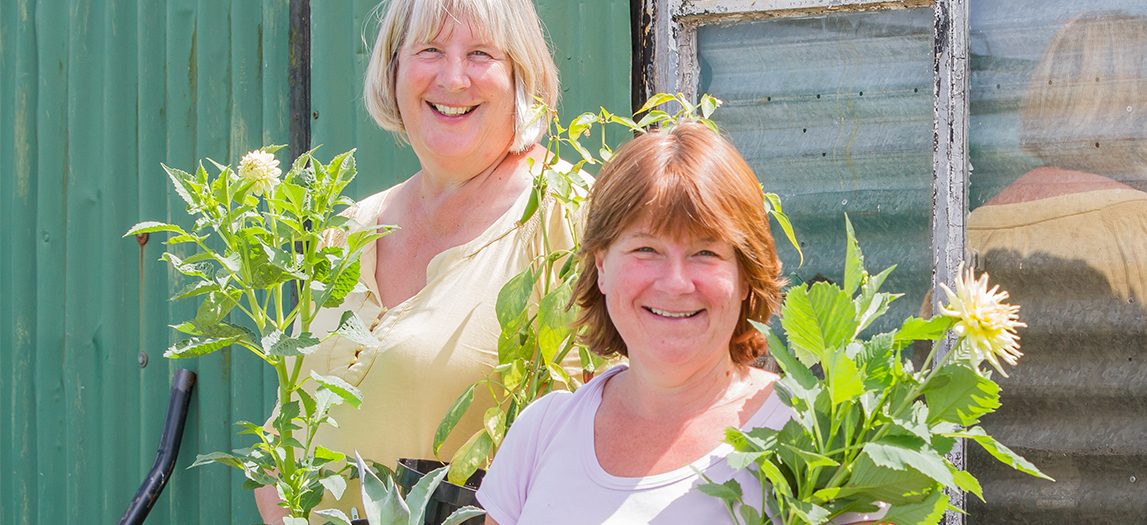
Grow your own has become a firm favourite following the enforced lockdowns of recent years. It’s something that many National Garden Scheme garden owners champion and an area of growing interest to garden visitors looking for inspiration and advice. With kitchen gardens, community gardens and allotments now firm favourites in the National Garden Scheme portfolio we’ve invited The Potty Plotters, Elaine and Julia (our Impact Report cover girls from Ashbourne Road and District Allotments in Derbyshire pictured above) to share their seasonal tips each month for getting the best out of your grow your own plot.
Leeks
As the weeks have past, the leek seeds have germinated and can be seen nestling nicely into their ‘milk bottle beds’! Once they germinate move them out into a cooler place such as a greenhouse so they slow down on their growth. Slow and steady is the rate for leeks, but as the weather starts to warm, pop them outside during the day and in again at night. (A bit like the hokey-cokey but not so noisy!)
As they grow to the size and thickness of a pencil, we will show you the trick of planting out in the garden or plot to get a good, healthy crop of leeks…
-
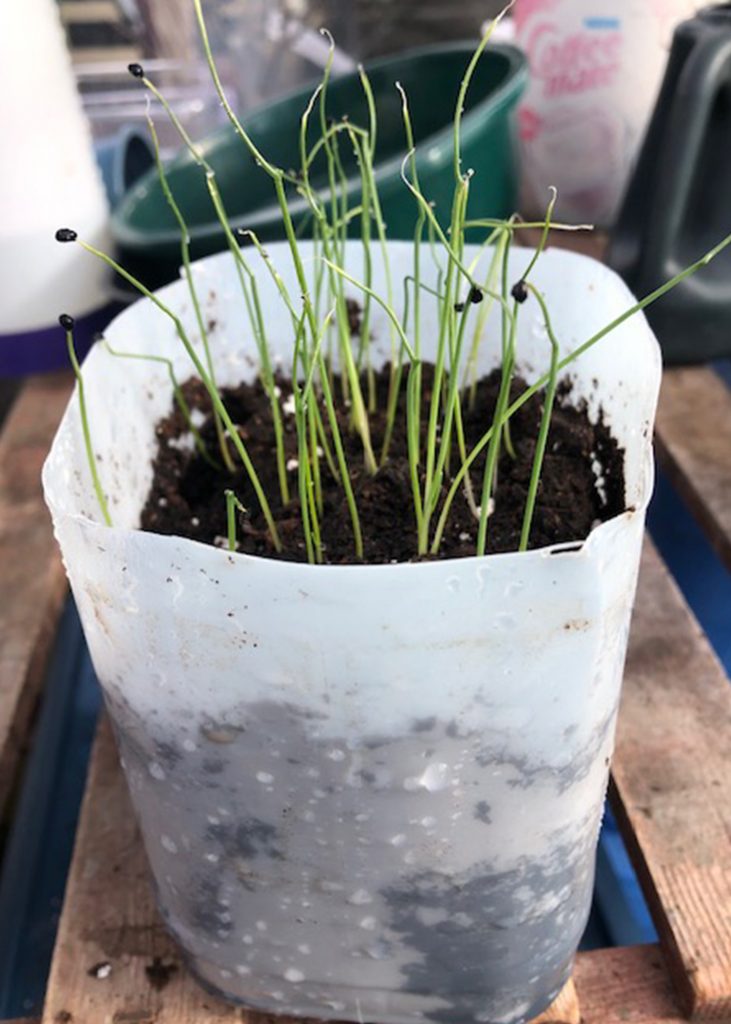
- Leeks growing in a milk carton
-
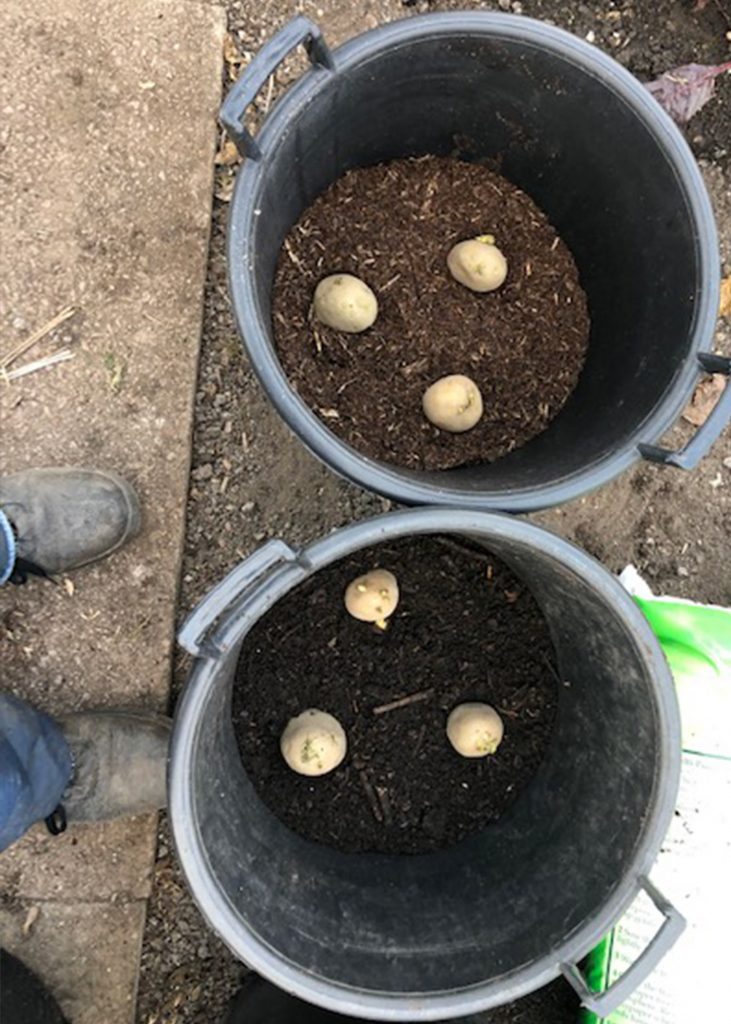
- Setting potatoes in tubs
-
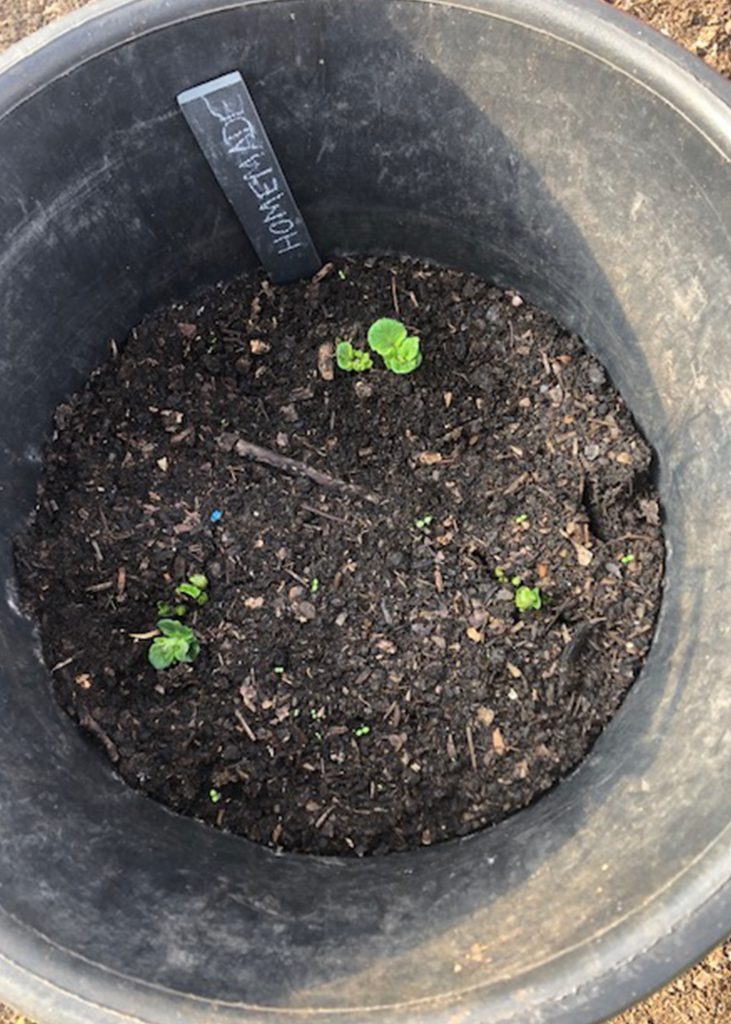
- Emerging potatoes in a tub
Potatoes
The seed potatoes are chitting (sprouting) nicely in the cool, but bright shed. When the shoots get to be about an inch in length many people will be desperate to plant them. But when? Our test for when to plant out it is the “bare bottom test!”
How warm is your soil? Is it warm enough to sit on without your pants (not suggesting that we all do this but…) Seasons are changing and so too the months, so if it is too cold or too wet for you to sit on with no pants then leave the potatoes where they are until the weather warms up. Otherwise, the chitted seed potatoes will simply rot in the wet, cold soil. Patience is what successful crops is all about!
As the sun starts to shine in March and the lighter days get longer, the soil will absorb the heat. Many traditional growers will say to plant potatoes during the week of Easter, although we know that Easter moves with the annual calendar so instead, eat a chocolate egg and enjoy the birdsong about you!
But for those of you who simply can’t sit on your hands any longer, we can tell you with confidence what does work and we know as we do it every year! Planting seed potatoes in ‘Bags for Life’ (they naturally don’t hold liquid so have good drainage) or just big buckets that have holes in their bottoms!
- Put about 5 inches of compost mixed with soil and or muck or a sprinkling of potato fertiliser in the bottom of the bucket or bag.
- Add 3 seed potatoes and space them out on the bottom of the container. Now add another 5 inches of compost and soil mixed on the top of the potatoes and water over the top to wet the contents. Put the container in a sheltered place away from the frost.
- As the green shoots of the potatoes start to shoot through in the next couple of weeks, add another 5 inches of compost and soil. Continue this until the compost and soil reaches the top of the container. If they are in the garden and the rain can wet them, that’s really helpful. But if not, water them at the same time that it rains outside!
- If a frost is forecast, move the container inside and cover them with newspaper or horticultural fleece so that the tops don’t get ‘burnt’ (blackened) by the cold.
- Perfect for early potatoes and for school projects as they come out clean and undamaged by pests such as wire worm or slugs
Next time we will look at planting outside in troughs or holes.
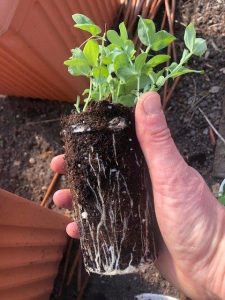
Sweet pea root system
Sweet peas
And for those of you who have now tried our method for germinating your sweet pea seeds you should be sitting smugly waiting to figure out what to do next! We only tell people about successful experiments – which is called ‘experience’ and will continue to share our hints and tips to make your gardens and allotments a happier and more beautiful place to show off in. (Like we do!)
Now your sweet pea seeds have sprouted in their take-away containers and you have planted them individually into small pots of compost, keep them in the cool place like a greenhouse or even outside.
As they grow to about 5 inches snip the plant down to about 3 inches using a clean pair or snips or scissors. Don’t worry about exactly where – above a pair of leaves or below or to the exact millimetre (or inch) as our experience is; that no matter where you snip, as long as the seedlings are nipped and reduced in height this will work and your plants will survive.
Why bother? Well instead of getting a single spindly stalk which will have a few flowers grow on it, the plant will bush from its bottom. Anyway, you will see in the next few days how different your plants are as they bush out and how glad you will be that you have nipped out their tops when later in the year your sweet pea flowers are plentiful and in full bloom.
Next time we will tell you where to plant the bushed-out plants and the best conditions that will help the plants keep blooming with those long, straight stems of scented flowers!
-
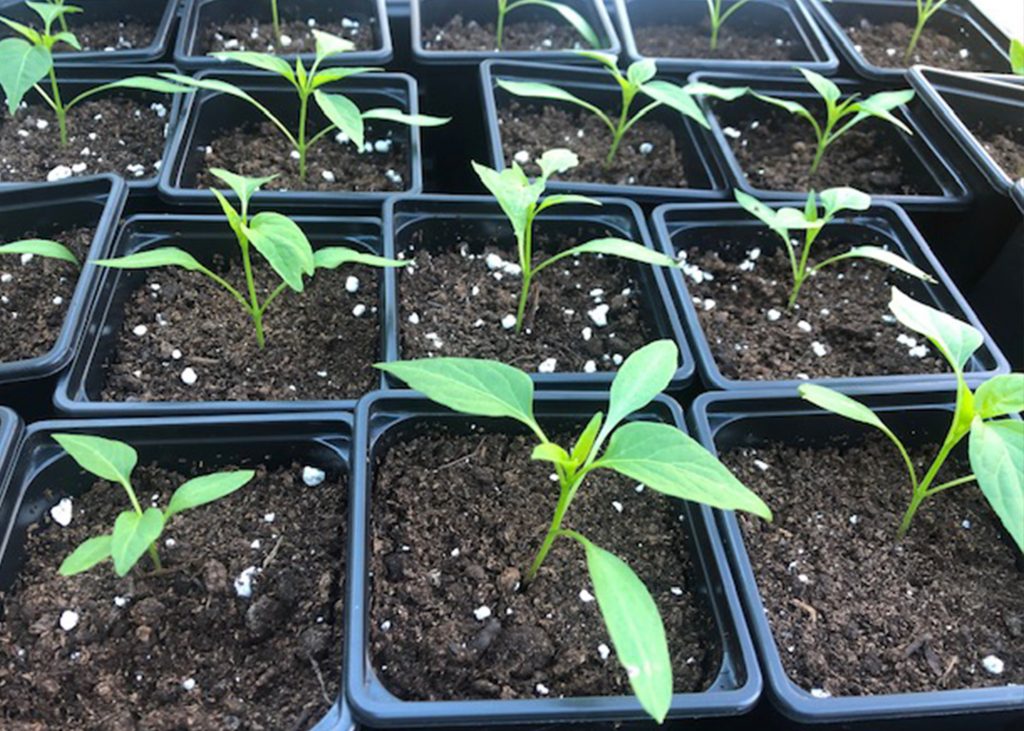
- Single chillies
-
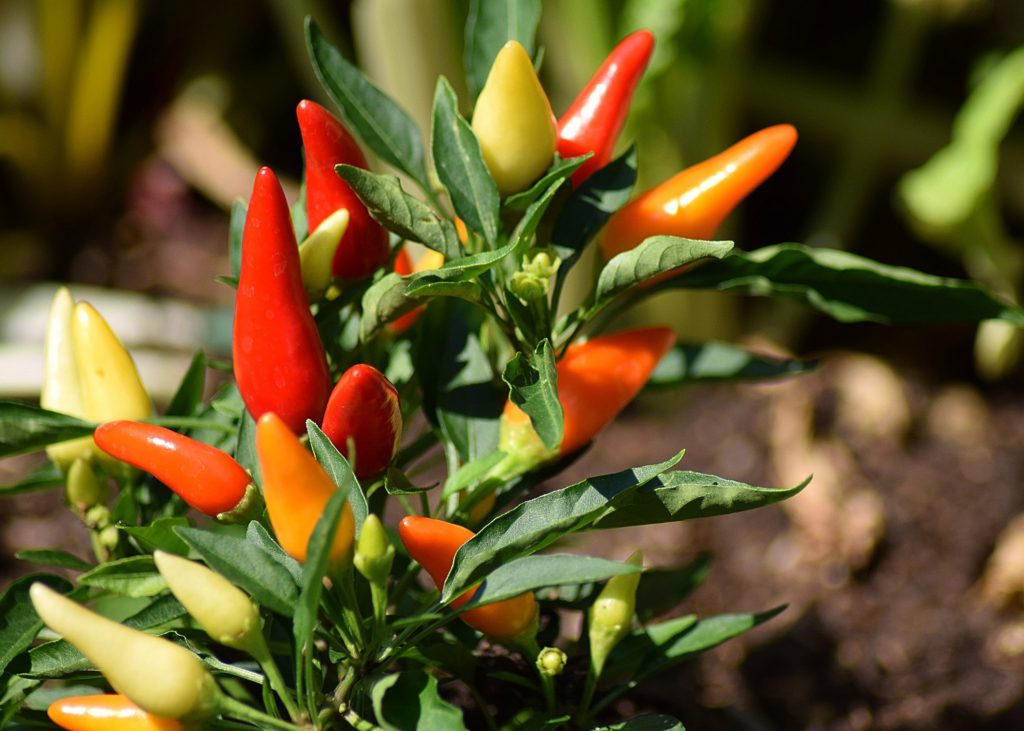
- Colour to come!
Chillies aubergines and peppers
A truly happy day for us is when the chillies, peppers and aubergines all germinate displaying a fine assortment of greenery through the compost. We don’t know a quick way to germinate these seeds but know that they love the heat to get going and although it does seem to be forever before they get going, it really is worth the wait!
As the seeds germinate and grow it’s important not to let them grow too quickly. Again, in order to slow their growth, move them into a cooler place. Once each seedling gets its next set of leaves it’s time for a move into a new single pot of compost.
We move on to ‘pricking out’ the seedlings. Carefully loosen the compost around each seedling. (We do it with a spoon). This will make it easier to move the plants without causing any damage to the plant or root.
- Fill a small plant pot with compost.
- Make a hole in the centre of the compost using your finger or the end of pencil. Gently lift each seedling from its original bed of compost into its new one.
- Drop the root into the hole you have made and press down the compost round the plant to ‘firm the compost so that the plant is secured.
- The compost will be dry so now stand the pot in a sauce or tray of water so that the compost soaks up what it needs from the bottom of the pot. You will see the water rise so you can see the damp on the surface of the pot. Then move the pot out of the water and stand on newspaper or similar to drain.
The plants should be happy in the new pots for the next few weeks but water again from the bottom of a pot if you think the compost is dry.
Broad beans
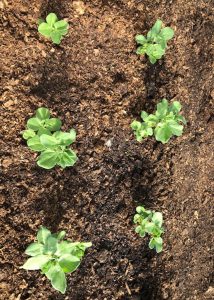
New broad beans being planted in the ground
The broad beans you planted last month should now be about 3 inches high in their original growing space.
Before you decide to plant them in the garden or the plot it is wise to acclimatise the plants to being outside and to the weather they are about to endure.
Also known as ‘hardening off’ by many plotters, plants, like people, like to be ready for the weather when they go outside. Simply put; if your plants have been grown in a warm climate and protected from the colder air, then they could well go into shock if they are suddenly put into cold soil which will stunt their growth.
How to get round this is by moving your broad bean plants every morning outside and then bring them back in at night or put them into the greenhouse overnight where they will get a little bit of protection from the spring frosts but move them outside during the day.
Broad beans do come in all sizes. Some varieties will grow up to around 12 inches and are perfect for growing in containers for keeping on the balcony or small growing area. If you are growing this type, they can now be placed as plants into larger containers filled with compost and need nothing other than watering and light. They will not need any supports and often can be eaten as a whole pod rather than just the beans that grows inside them.
Other varieties will grow to up to and beyond 4 ft in height and will need a support mechanism to be successful – which is easy to do and very necessary or the bean stalks may snap in bad weather.
- Dig an area to a fine tilth
- Make holes big enough for the bean plant to sit in
- Bring the soil back over the root and firm the soil around the plant using your hands
- Set each plant about a hand width from one plant to the next making a single row
- Now do another row about 8 inches away from the first using the same method
- You should now have 2 rows of beans growing at the same time
We will show you how to support the beans next time as they get growing.
Beetroot
Love it or hate it? There are so many varieties of beetroot now available that you can disguise it by both shape and by colour!
When the soil warms beetroot seeds are happy to be planted directly into a fine soil, the texture and fineness of breadcrumbs or sand. Talking of which, we always add sand to where the beetroot seeds or seedlings are going to be planted, simply raked through to add some drainage to the area to avoid a ‘soggy bed’!
Like many allotment sites, we do get pests such as mice and rats that will happily steal our seeds as fast as we plant them in the soil. One way of avoiding this perpetual theft is to plant the seeds into a seed tray or cell tray and then plant out the seedlings instead.
This month is a perfect time to set the beetroot seeds. They generally take between 7 to 14 days to germinate but again, we have learned a lesson from setting in this form.
With the tray method, in order not to get the seedling roots tangled as they grow, fill a seed tray (that has drainage holes) with compost – almost to the top of the tray. Run your finger now in the compost along the length of the tray to make an indentation all along the row (about ¼ inch deep).
Now drop a beetroot seed in the row with a space of about an inch between each one. At the end of the row, gently push the compost back over the seeds to cover them. Repeat to fill the tray with rows of seeds.
Stand the filled tray in some water so that the compost is wet from the bottom drainage holes and then stand it on top of newspaper to drain. For the next 2 weeks keep on a light windowsill or in the greenhouse but it needs to be warm for the seeds to get active! You could cover the seed tray with a clear plastic bag and clip with a peg at one end. This will save the compost from drying out and retain any heat too.
An alternative method of growing beetroot (favoured by Julia) is to grow the beetroot in groups of four or five rather than individually. As the beetroot seeds begin to grow one will dominate and reach a useable size before the others. At this stage, a gentle twist and pull out at the base of the plant allows you to remove this beetroot, leaving room for the others to move into the space and grow. This process then repeats itself so not all the beets are ready at once…an easy way to get a succession!
To try this method, use a 9 to 12 cell tray and fill with compost. Plant three or four beetroot seeds in each cell and water. Keep warm and wet as detailed in the tray method.
-
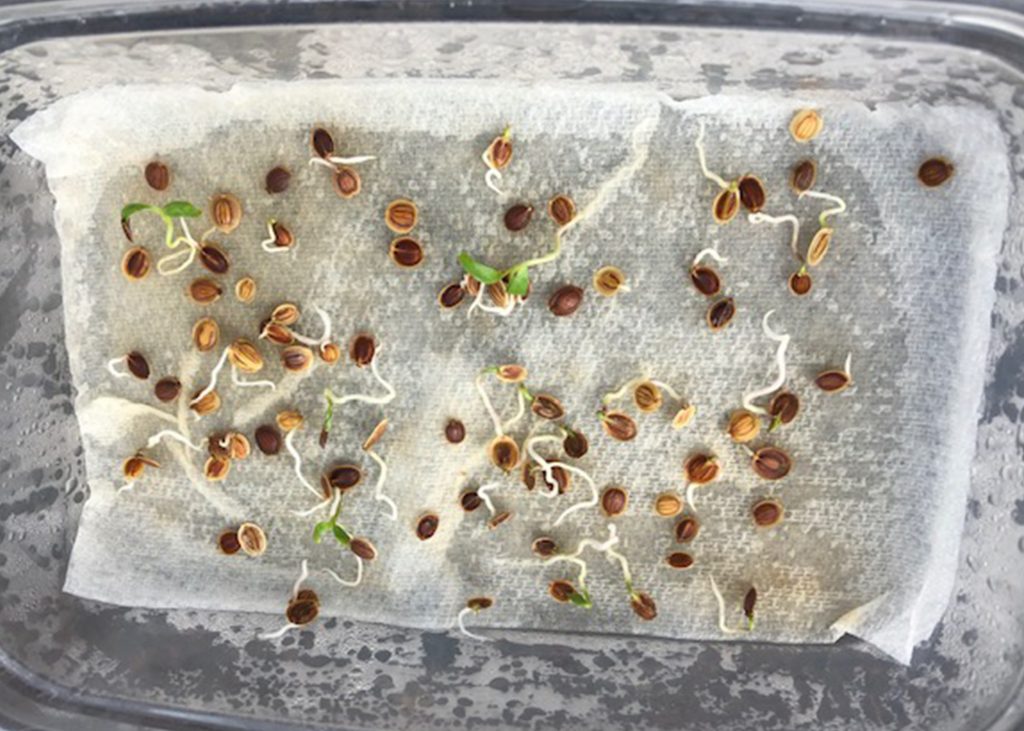
- Tails on parsnip seeds in the take-away box
Parsnips
For years we have seen people on our allotment site gawping over neighbours’ fences wondering and comparing the rate of parsnip seed germination.
Have they germinated? Where are they? Notorious for being tricky to germinate, we did an experiment to test the germination of parsnip seeds (which we continue to share.)
“Enough of this nonsense. No more” we shout! Instead – yes, back to the takeaway container that you have just emptied of the sweet pea seeds and now, exactly the same but this time, for your parsnip seeds!
Use a new packet of seeds and this works every time. We have called it ’Pass The Parsnip’ as we deliberately germinate lots of seeds so that we can pass them round to other plotters many who, by April, have subscribed to an advanced course of gawping!
What to do? Follow the same as we did last month for the sweet peas but add the new parsnip seeds in the container instead. Keep the lidded container on the warm, light windowsill until the seeds start to germinate.
We’ll tell you more about the ideal conditions for planting out parsnip seedlings next month as the germination will take a couple of weeks which will give you time to learn how to gloat rather than gawp (though both can be very annoying!)
Missed the last blog – find it here
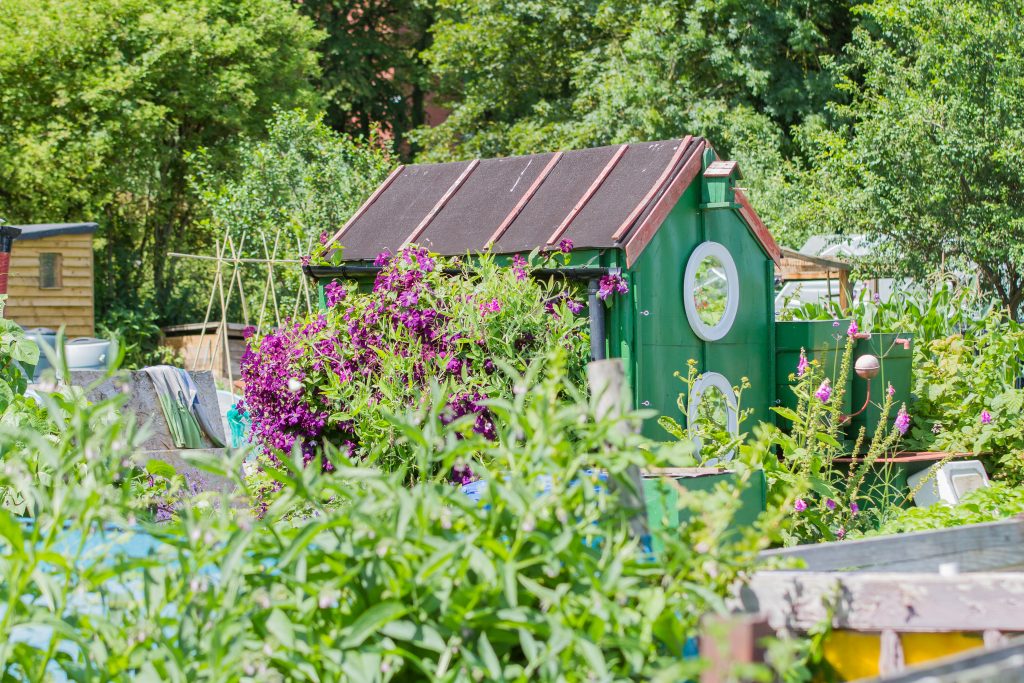
Planning, preparing and planting now will reap rewards in the months ahead – Photo: Amanda McConnell